Squarespace Database Tutorial
All contacts are now managed in the Squarespace Contacts database located here: https://dog-gopher-6ejx.squarespace.com/config/profiles/all
Contacts in Squarespace
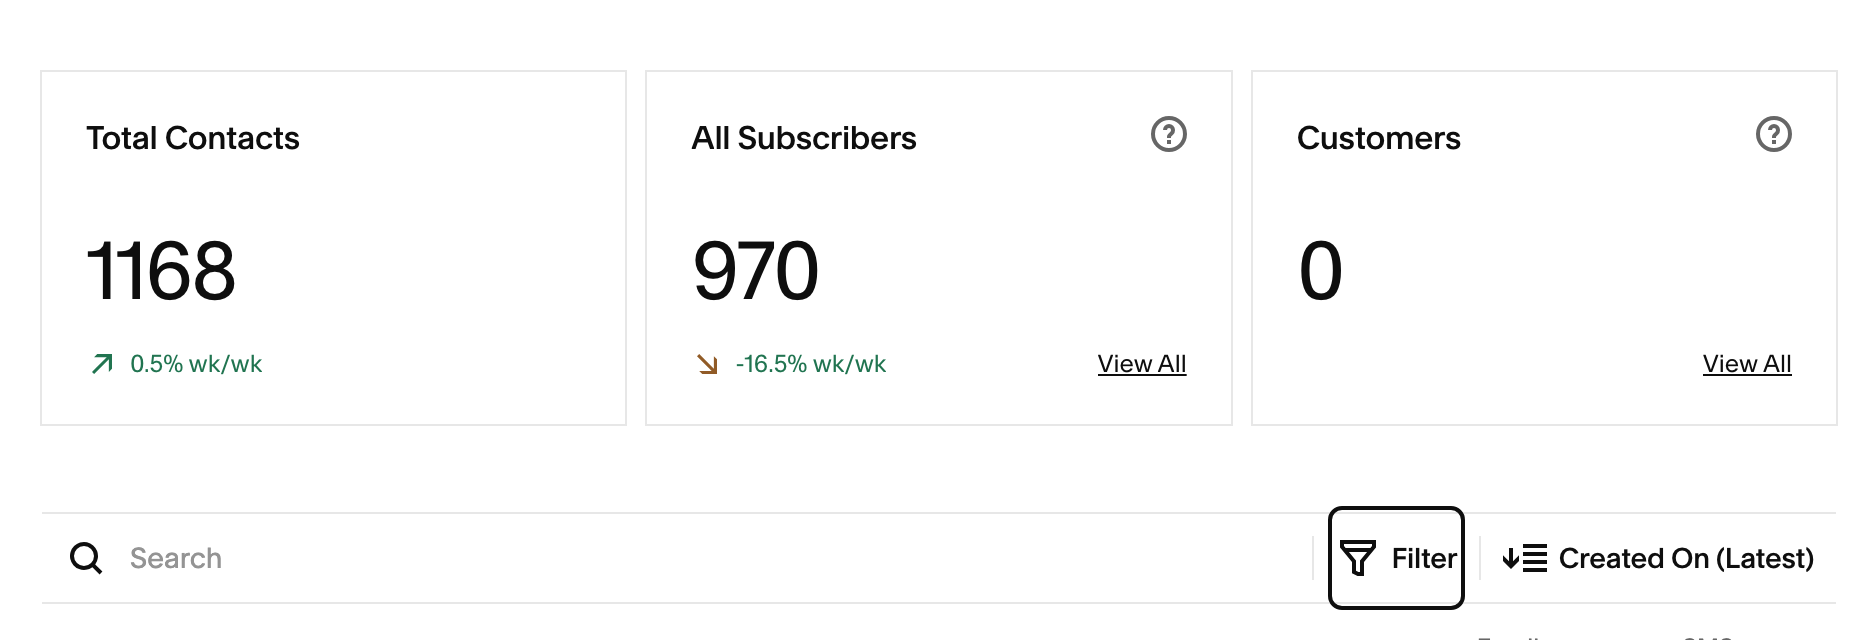
Open the Contacts dashboard, where you can review Total Contacts, All Subscribers, and Customers.
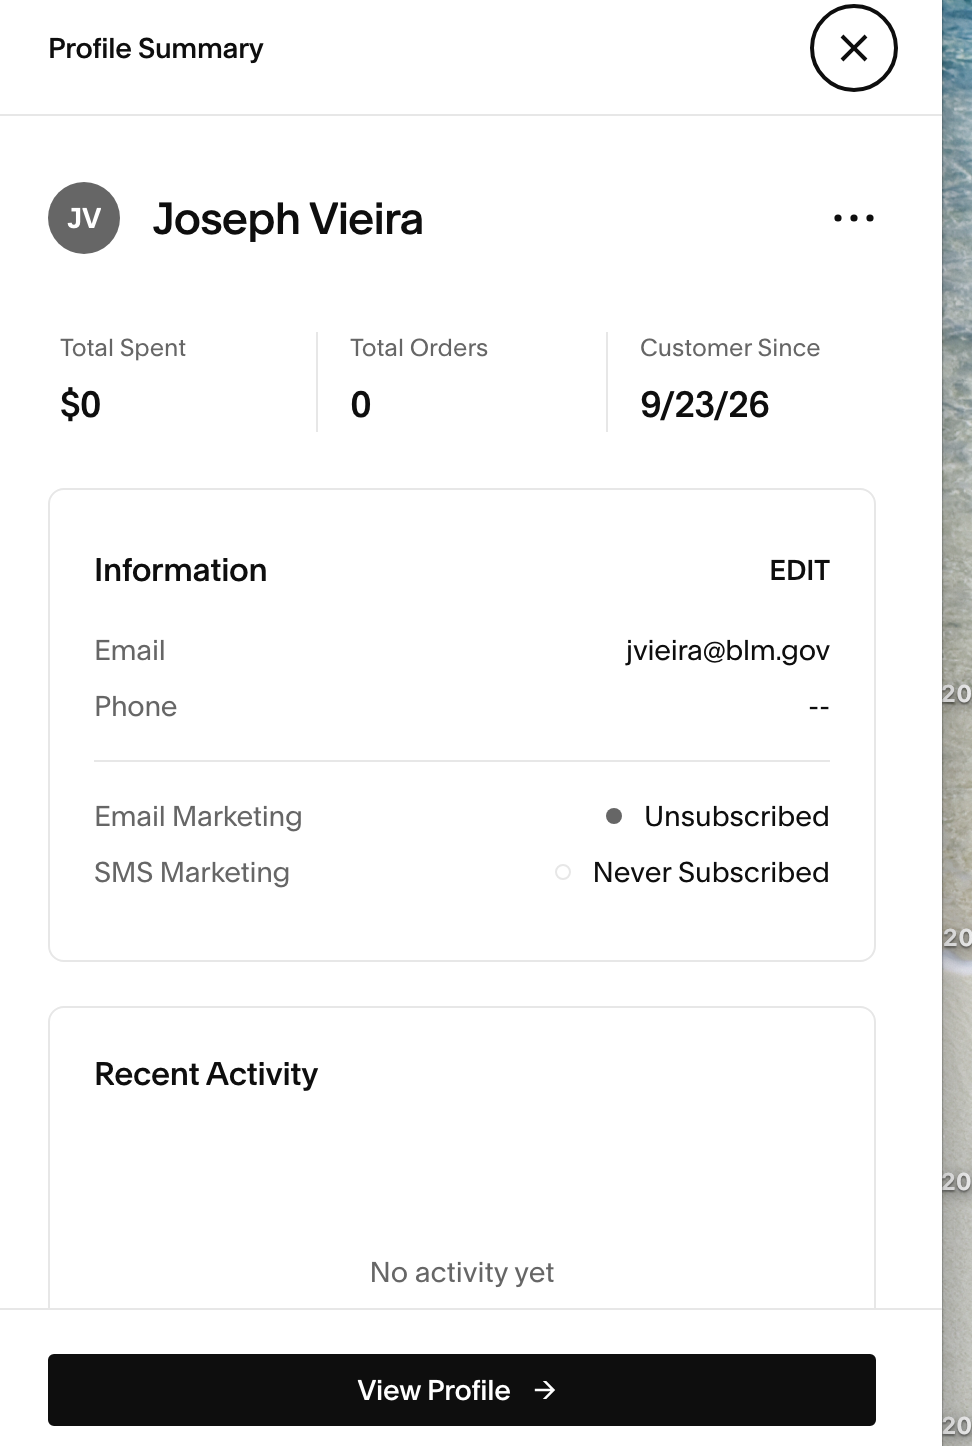
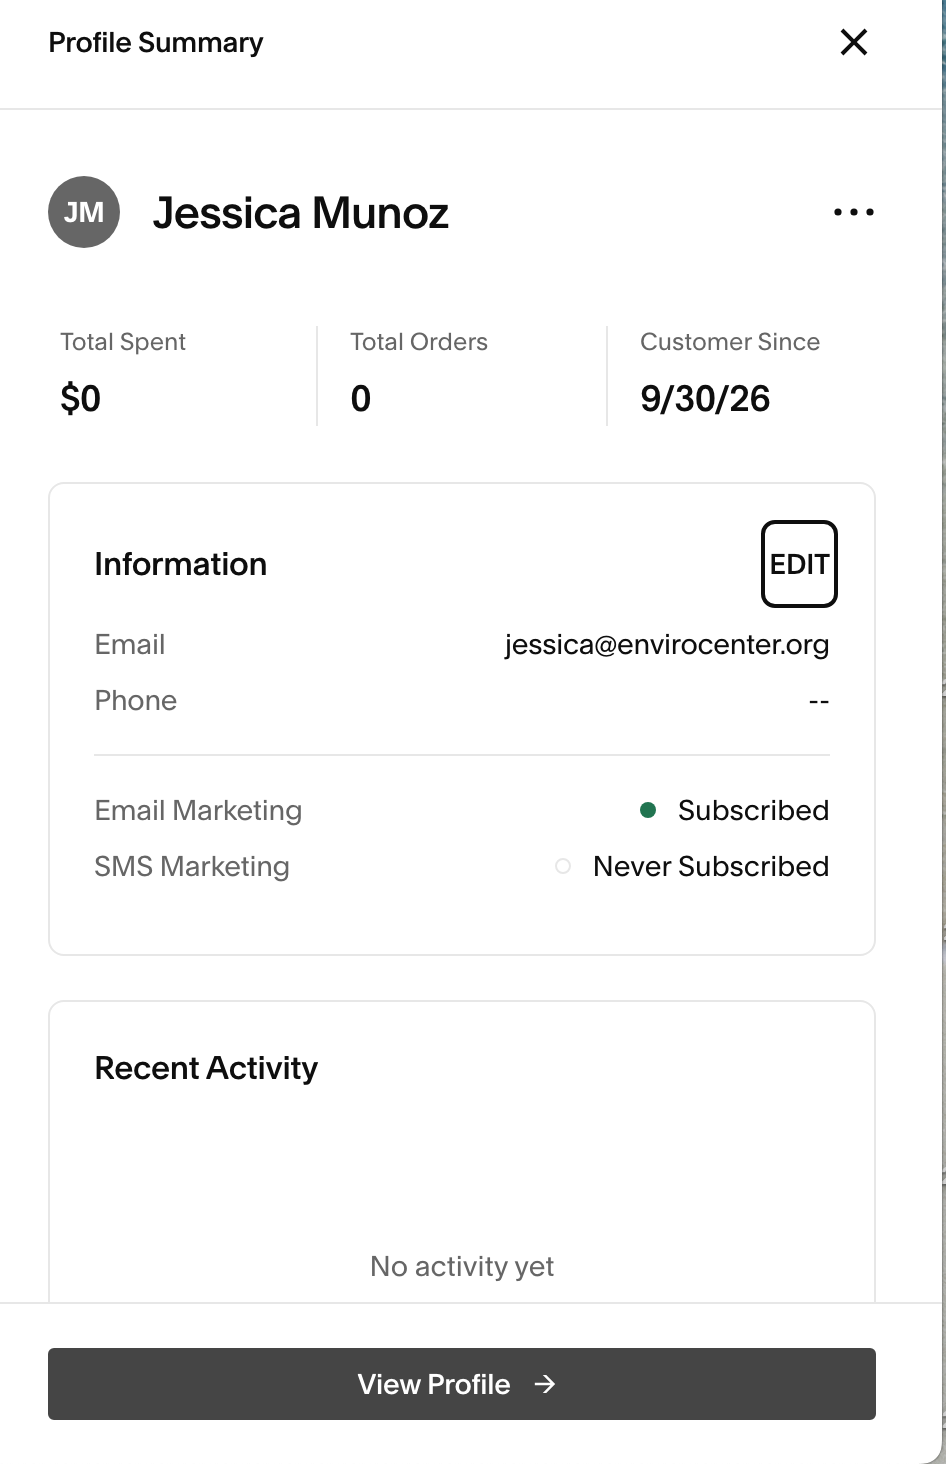
The database contains the contact email, First name, Last name, Created On date, Email subscribed checkmark (or lack of), and SMS subscribed checkmark (or lack of)
The Contact form is now set up to enter the submitter automatically. The newsletter sign-up form will automatically add them, just not a’t add a checkbox.
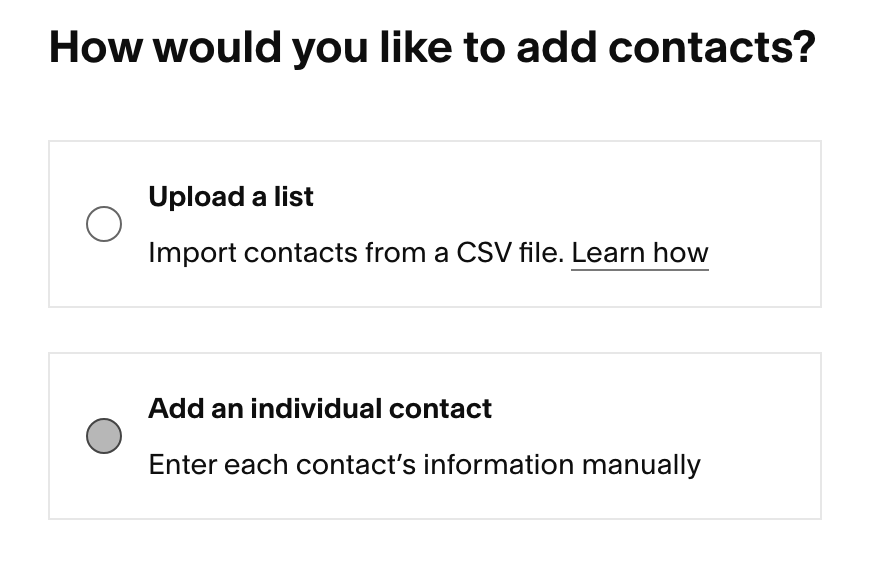
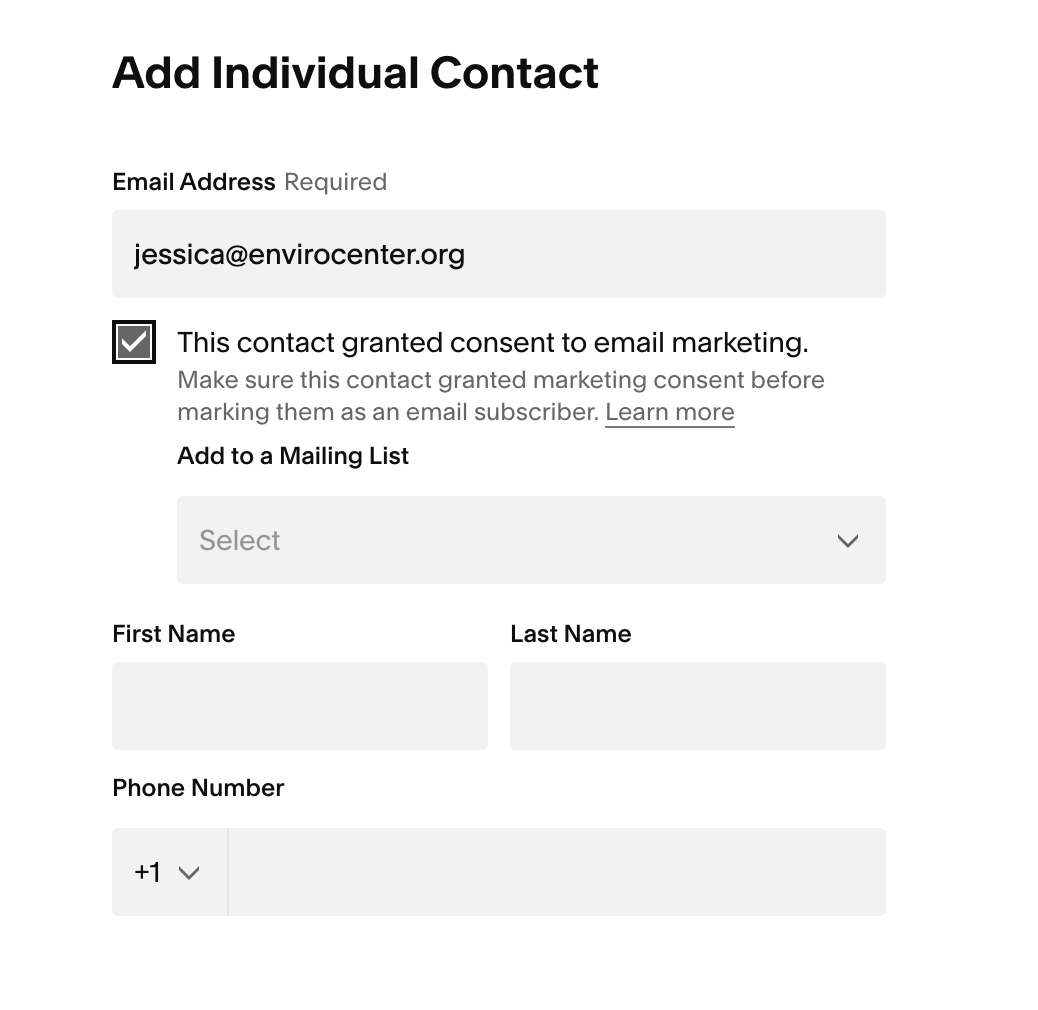
When adding a contact manually, be sure to add a checkmark to: “This contact granted consent to email marketing.”
When adding a contact phone number manually, be sure to add a checkmark to: “This contact granted consent to SMS marketing.”
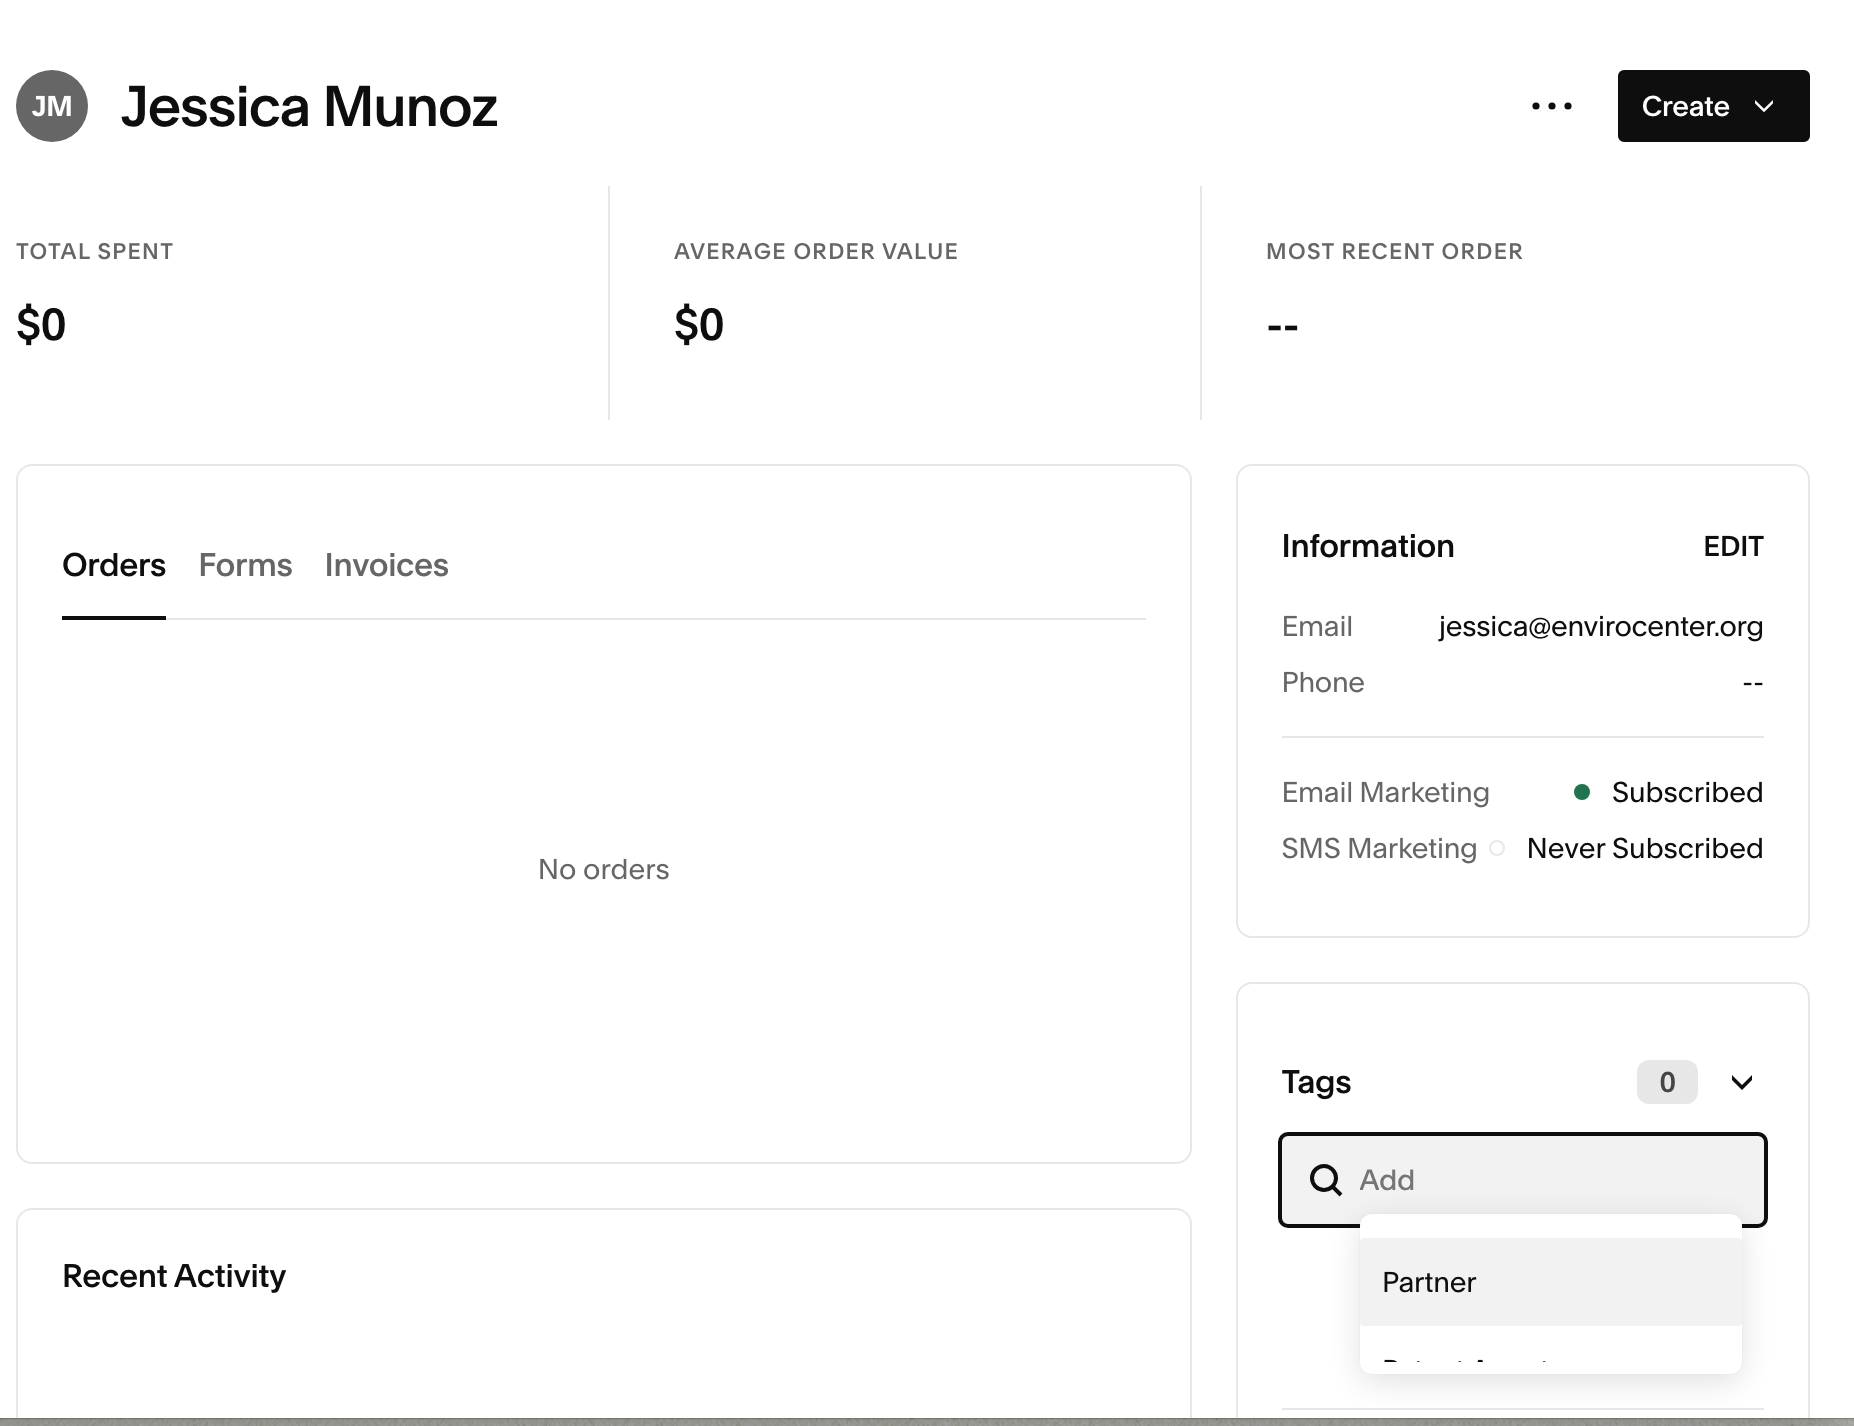
Click on the Profile to add Tags. The Tags field identifies potential buyers, the trade show or event where met, team member, partner, vendor, etc. There is a pull-down list populated with current tags. Add a new tag by entering it and be sure to click the “enter button” on your keyboard.
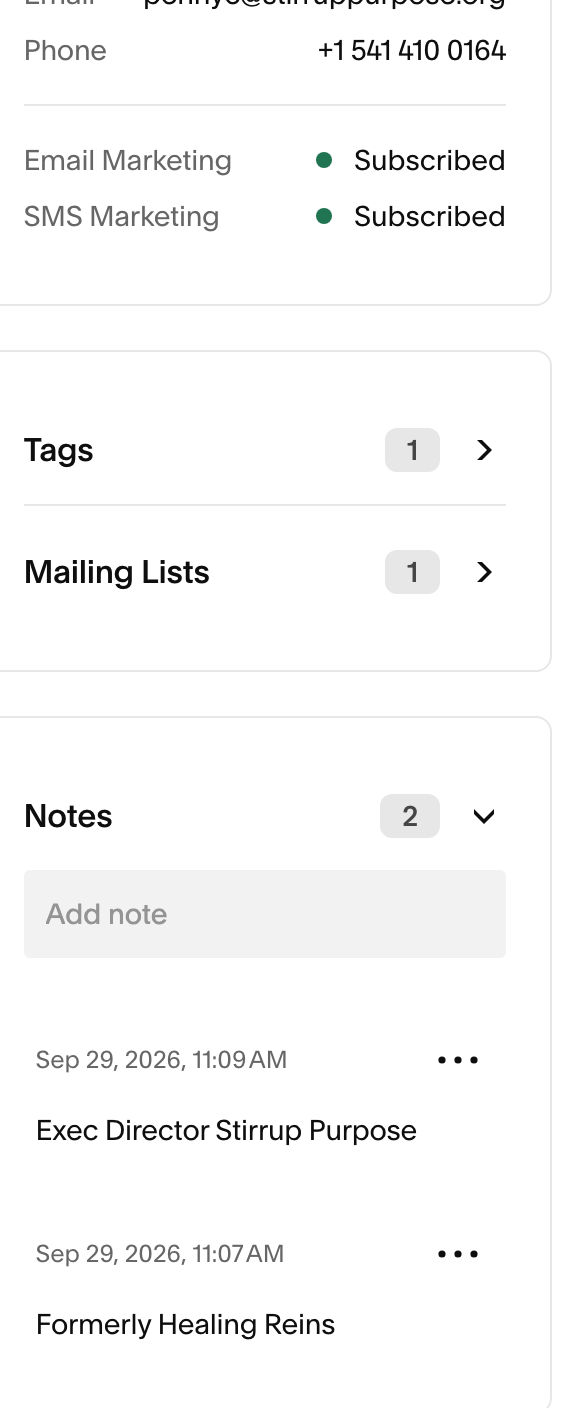
While in the Profile, after adding Tags, you can use the Notes field to add additional information in separate notes, such as their position and company, where they worked previously, etc. Be sure after adding a new note to entering and click the “enter button” on your keyboard, or the SAVE button at the bottom.
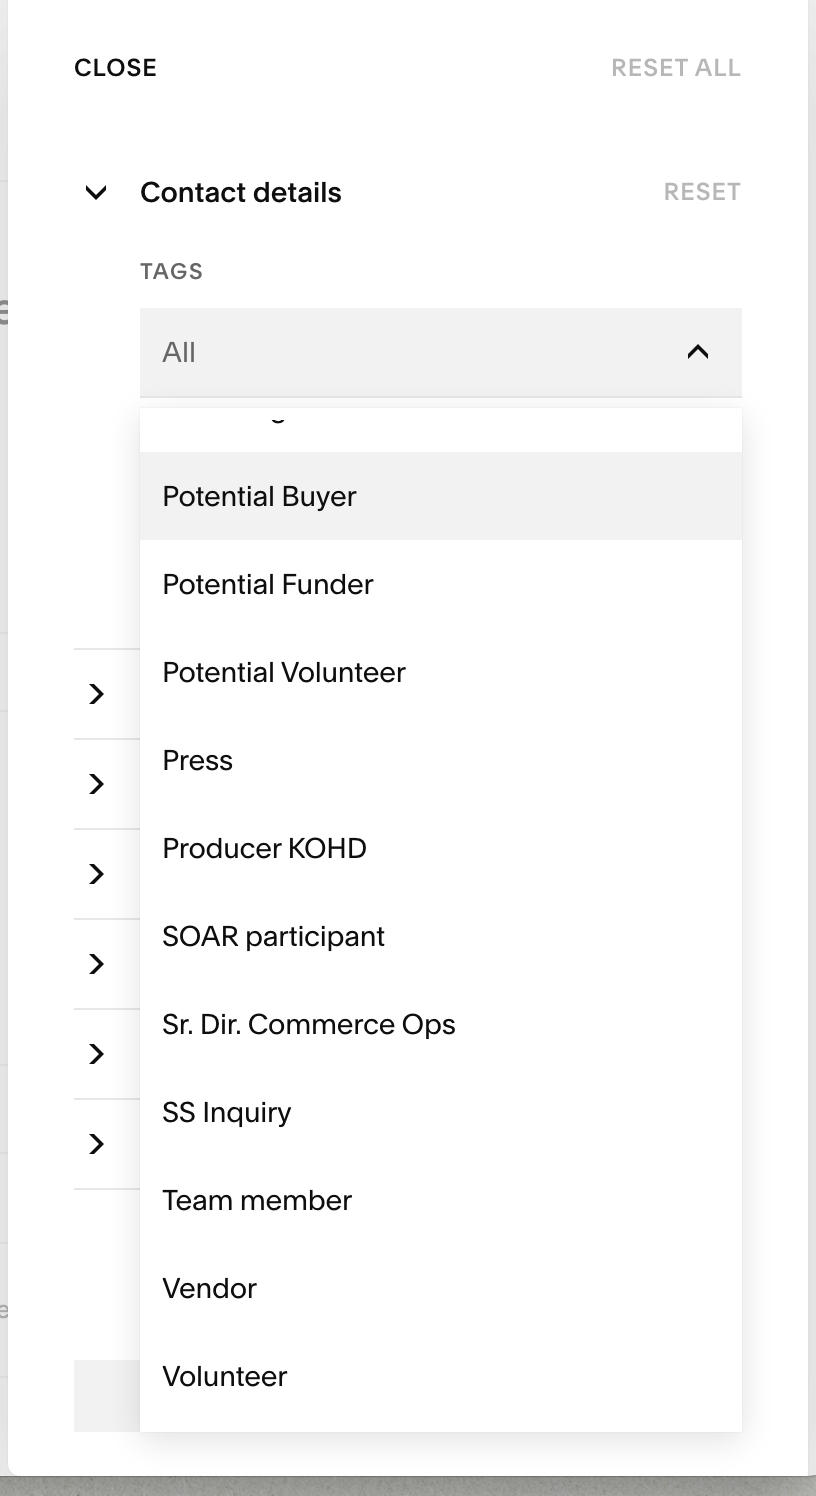
The Contacts database defaults to “Created On (Latest). If you want to filter for a particular tagged subset, such as Potential Buyers, use the Filter icon to select the tag “Potential Buyer”. From there you can create a segment that is updated each time that tag is added to a new contact.
STEP 1:

STEP 2:
STEP 3:
STEP 4:
STEP 5:
STEP 6:
STEP 7:
STEP 8:
STEP 9:
STEP 10:
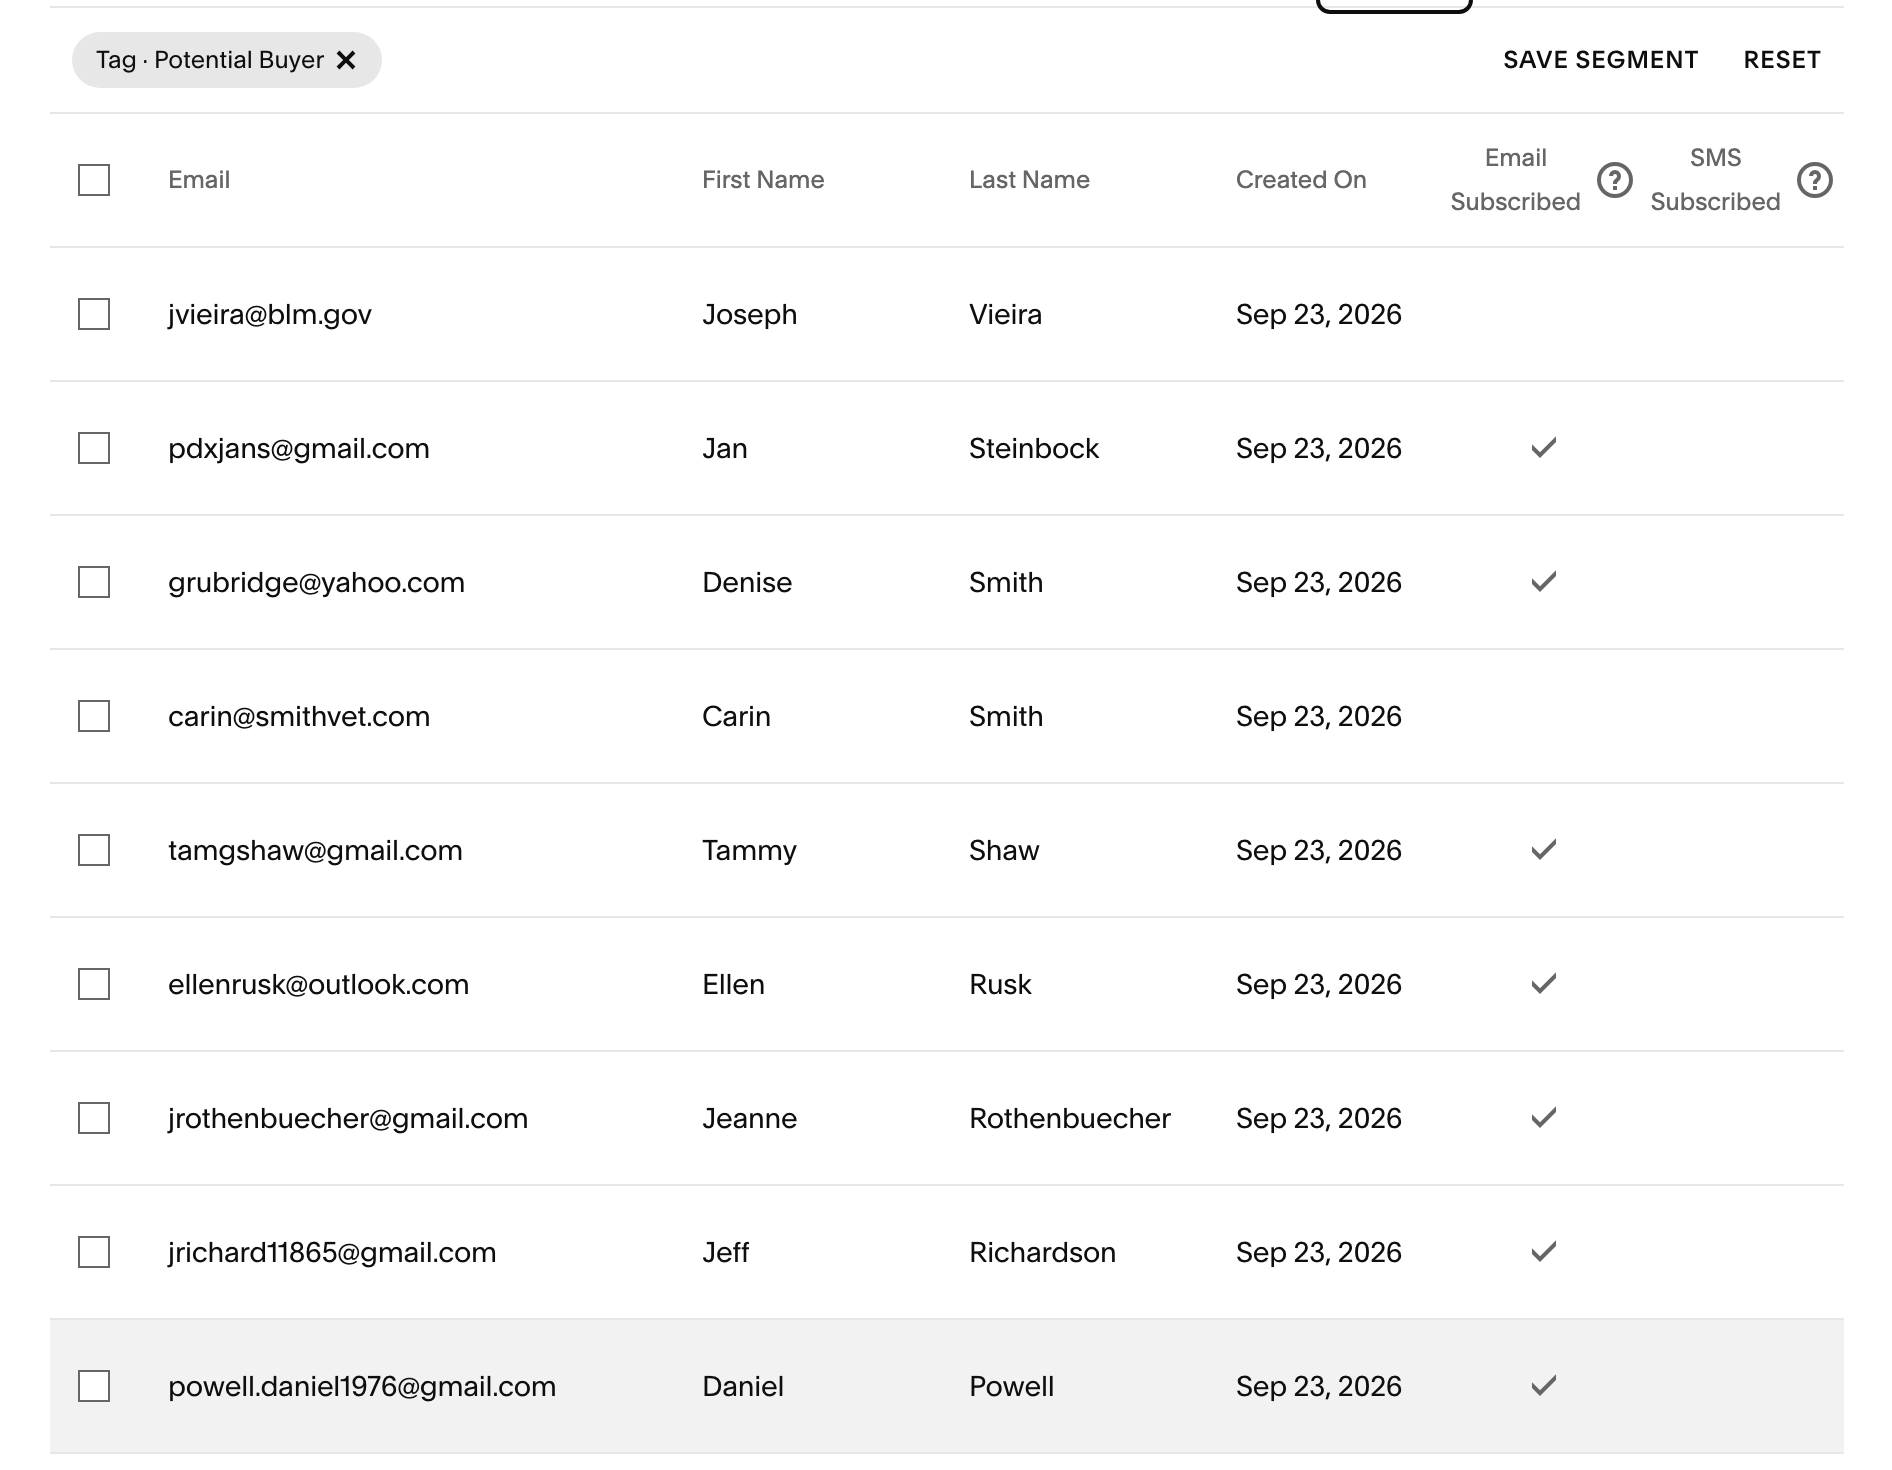
STEP 11:
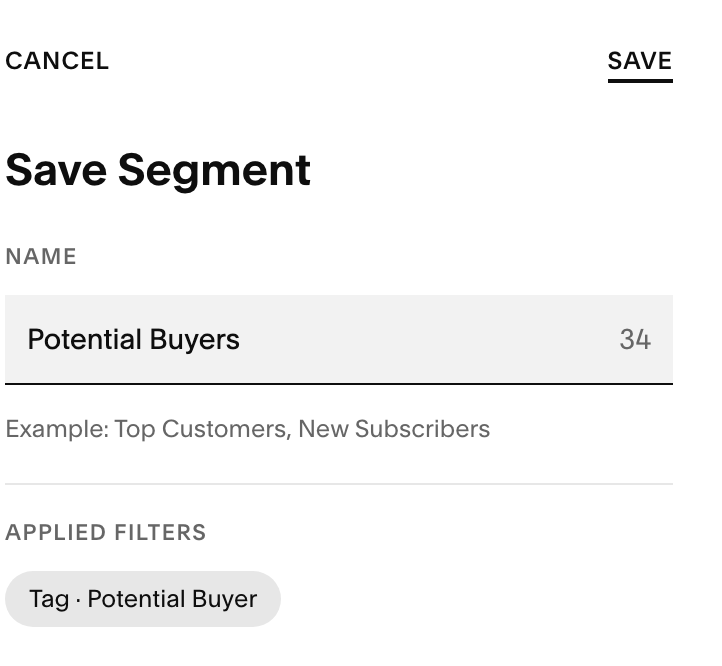
STEP 12:
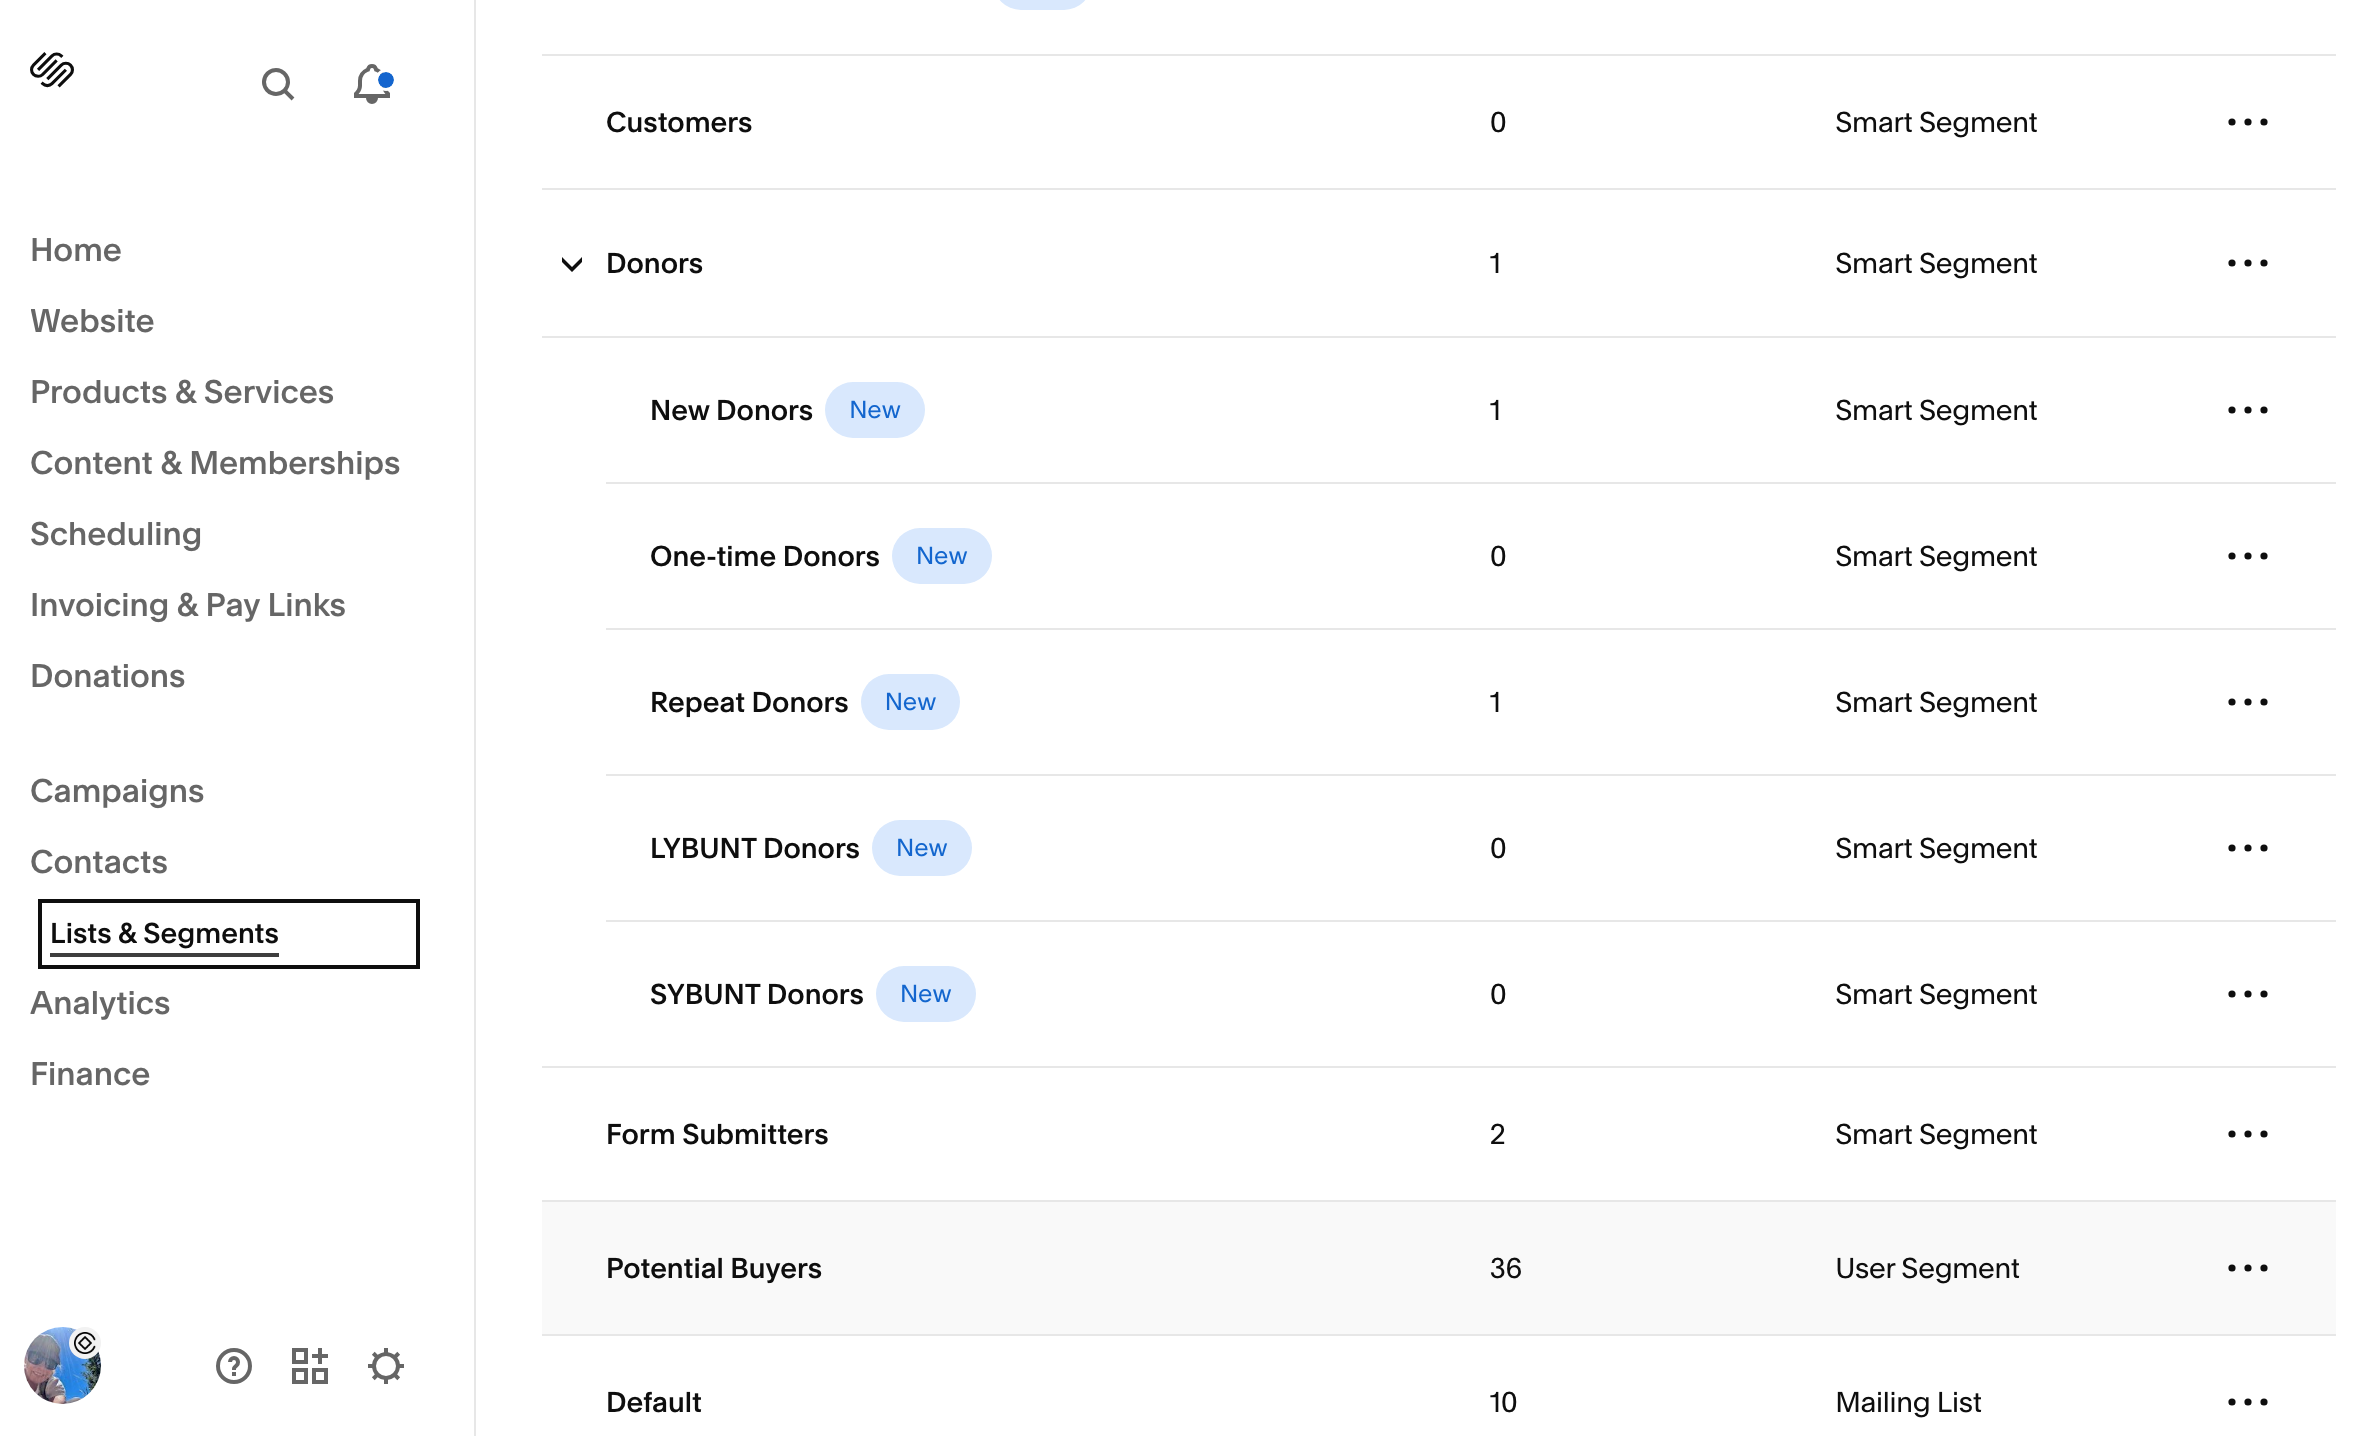
STEP 13:
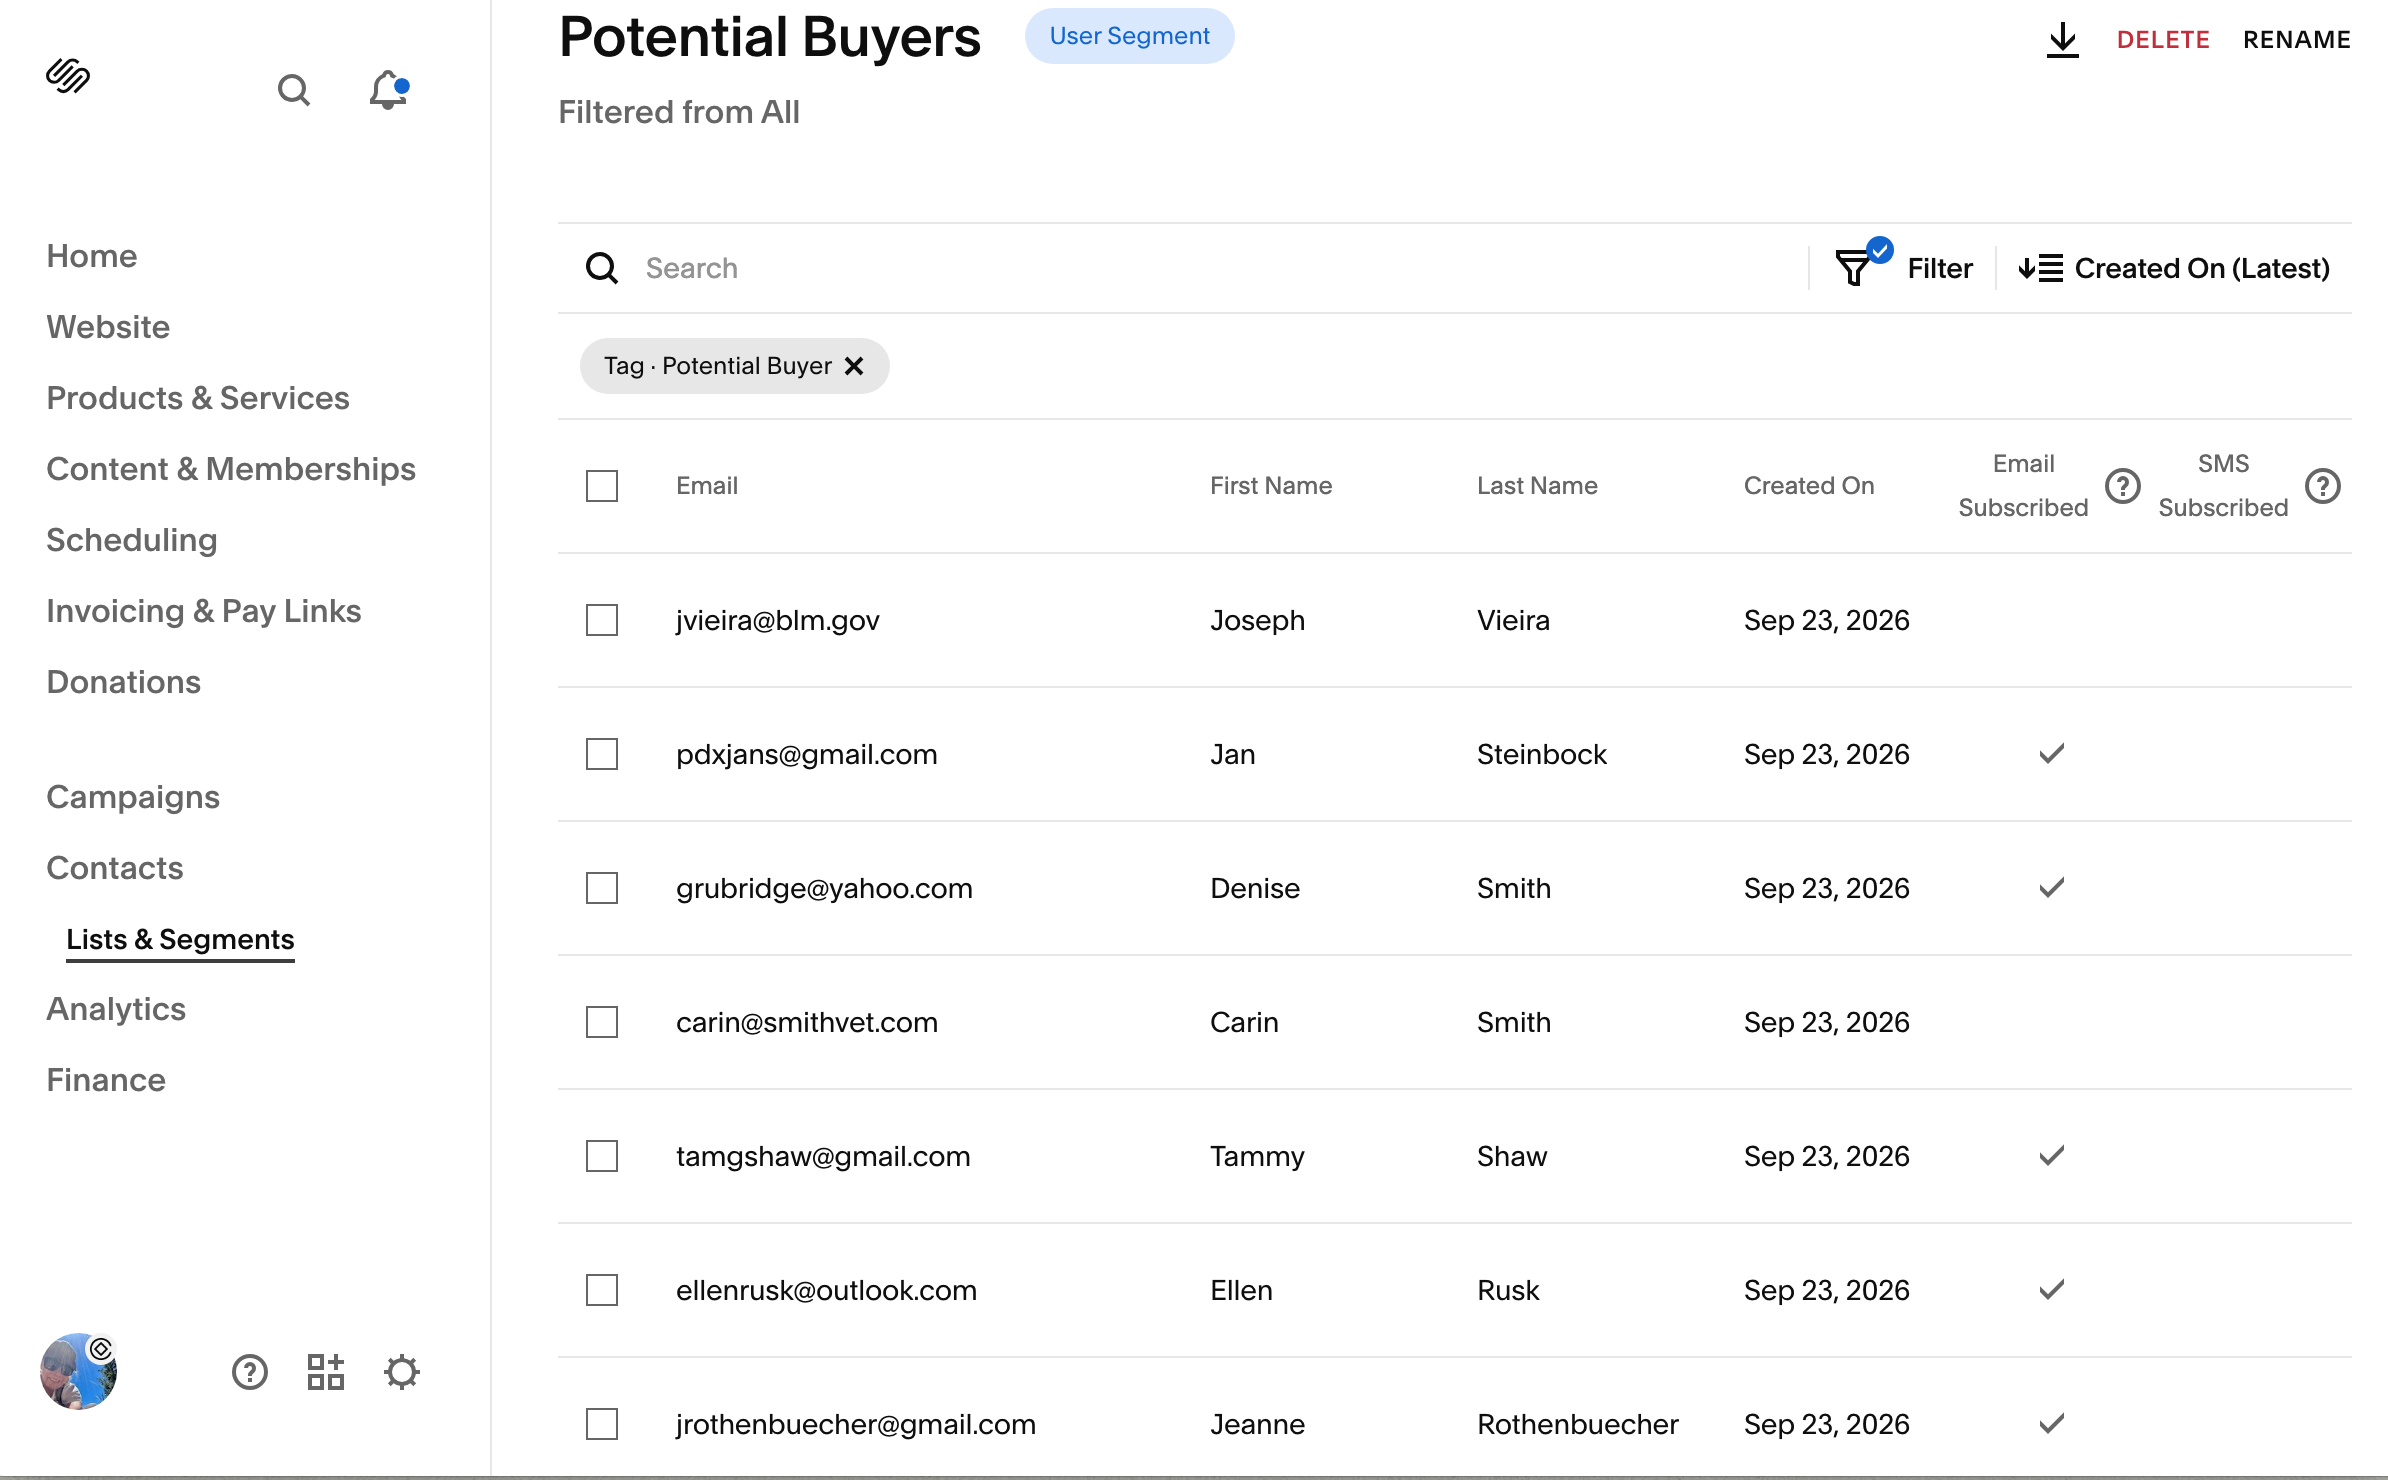
STEP 14: